So I have had this idea bouncing around in my head for a while and I finally sat down and put it all together. I thought I would share this with any of my crafty followers :) I am not sure how long it will last. I didn't use Acid free glues, but I figured it will last long enough for me.
Enjoy!
***A few things I would change next time (may help to read this after you have read instructions).****
1.When scoring your picture use your frame. If you are like me I am not very exact and my frame ended up being a smidgen too big.
2. Use hot glue. I used Tacky glue for one side and it took FOREVER to dry, plus it ended up being wavy. The other 3 sides I used my hot glue gun. I warmed it for 1/2 hour to make sure it was nice and hot and wouldn't make my edge bumpy. Worked lovely!
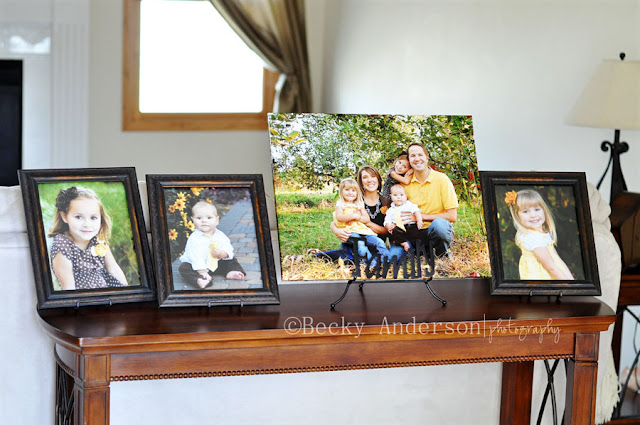 |
| Because we are getting ready to sale our home I placed my picture on an Isle. |
Materials needed:
Boards (I used post sticks sold at Walmart)
Wood Glue/Tacky Glue
Staple Gun
Paper Clip
Cutting Board
Exacto knife
Ruler
Picture
Start by cutting your boards/sticks. I had a 16x24 picture that I needed to make a frame for. My sticks were 1/2 inch thick so I made my frame 15x23.
Glue the end of one stick
Press sticks together and staple. I put 2 staples on one side and one staple on the other. You may also need to hammer the staple in so they are nice and tight. Repeat for remaining 3 sides.
Finished frame. Look how nice and square it is :)
Get your pictures and cut out a square from each corner. The measurement of the square comes from the thickness of your board/sticks. I cut out a 1/2 x 1/2 inch square from each corner.
***This is when I would place my frame on the picture and use it as a guide to score the edges and then cut my corners out****
Now score your picture. Take your ruler and line it up with the corner of the 2 squares that are on the same side. Hold the ruler and press the paper clip along the edge.
I put a blanket on my table and set the picture face down on it so is wouldn't get scratched and it would stay clean. Get your frame and put plenty of tacky glue on one side.
***This is when I would use hot glue. Much faster and makes a much cleaner edge. Just watch out for hot glue strings so they don't get on your picture.***
Place frame on your picture and fold picture over on scored line. Press frame firmly to picture. Repeat gluing and folding for remaining 3 sides.
You are finished!! Congrats! If anyone else tries this I would love to hear how it went and would LOVE to see pictures :)
You can buy a professional 16x24 Gallery Wrap Canvas for $80-$175. I made mine for about $8. I printed my picture at
Adorama during their yearly sale in November for $5. And the sticks were at Walmart for about $1 a piece. What do you think about that savings?